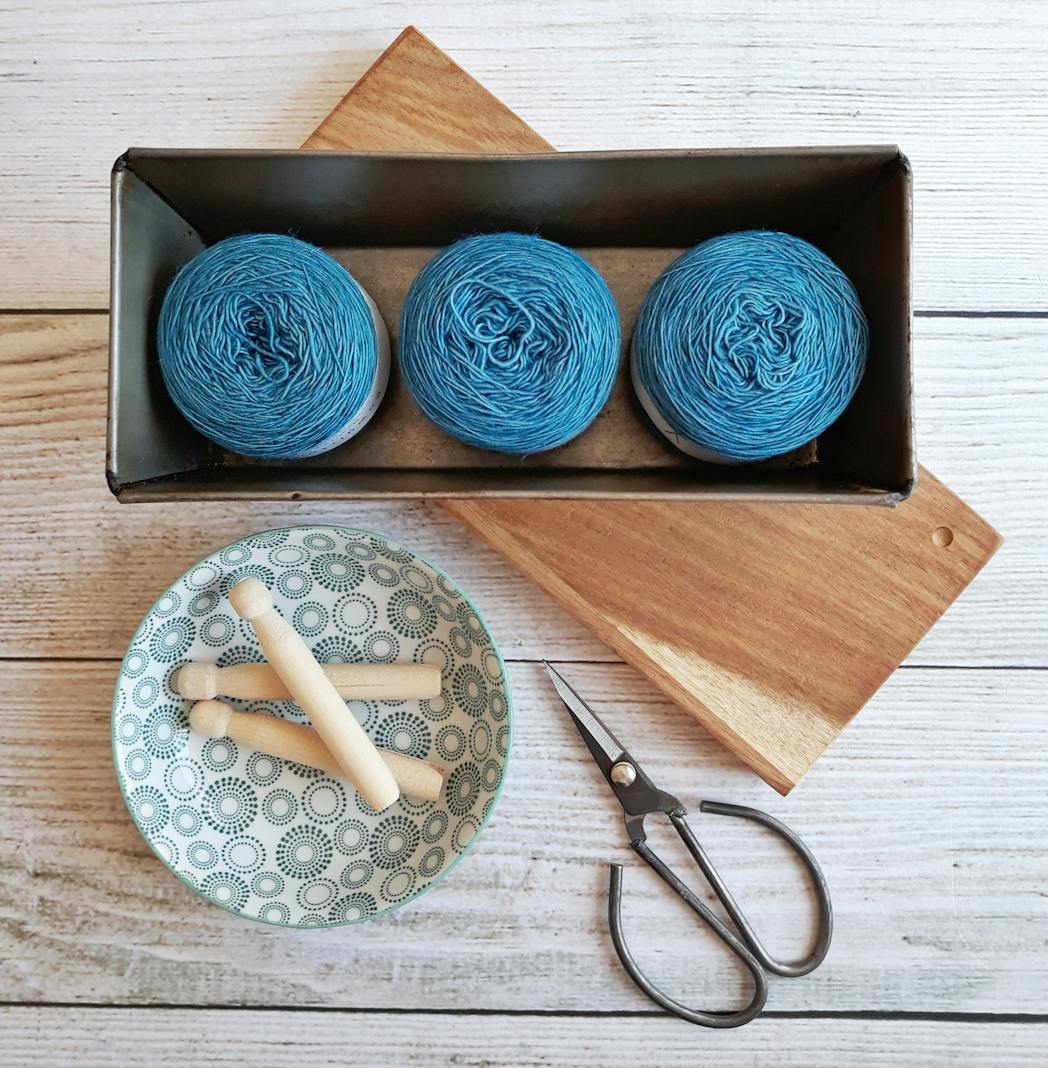
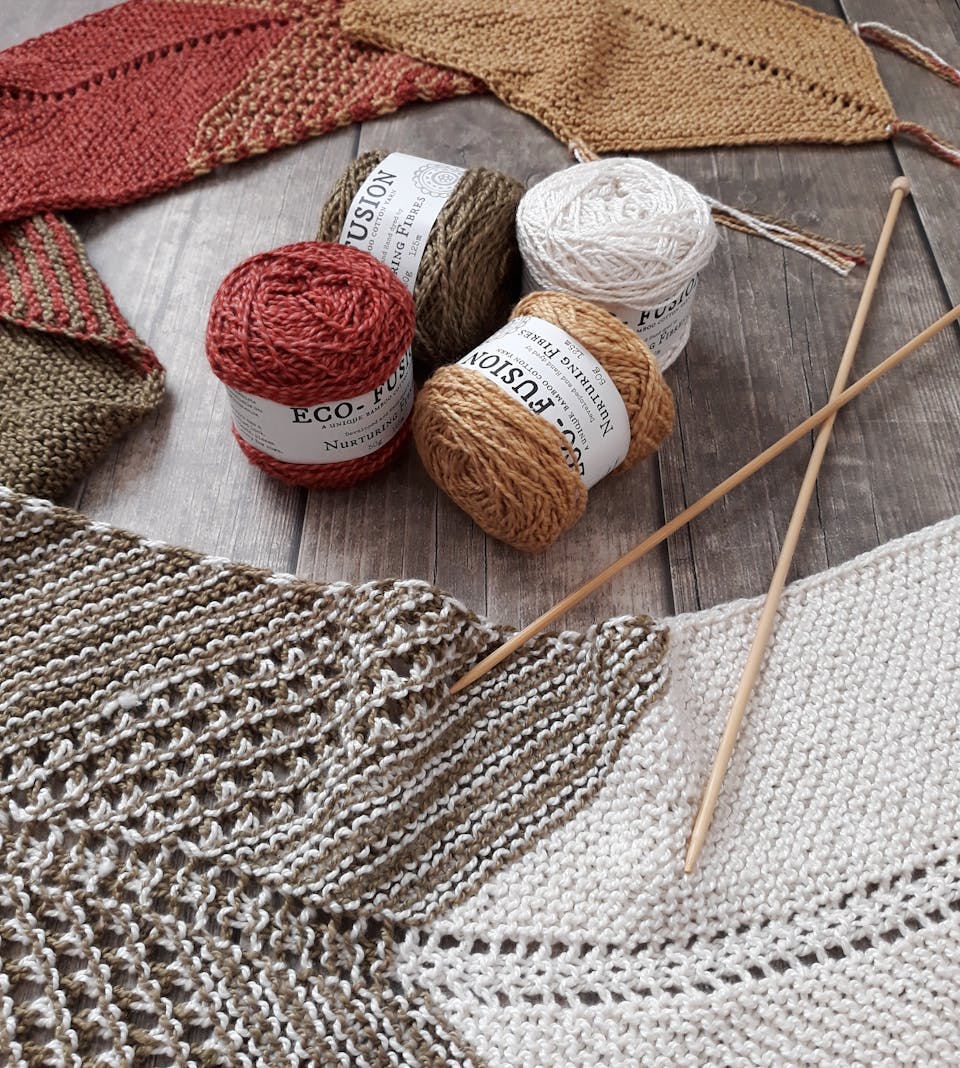
Changing Yarns for Striped Socks
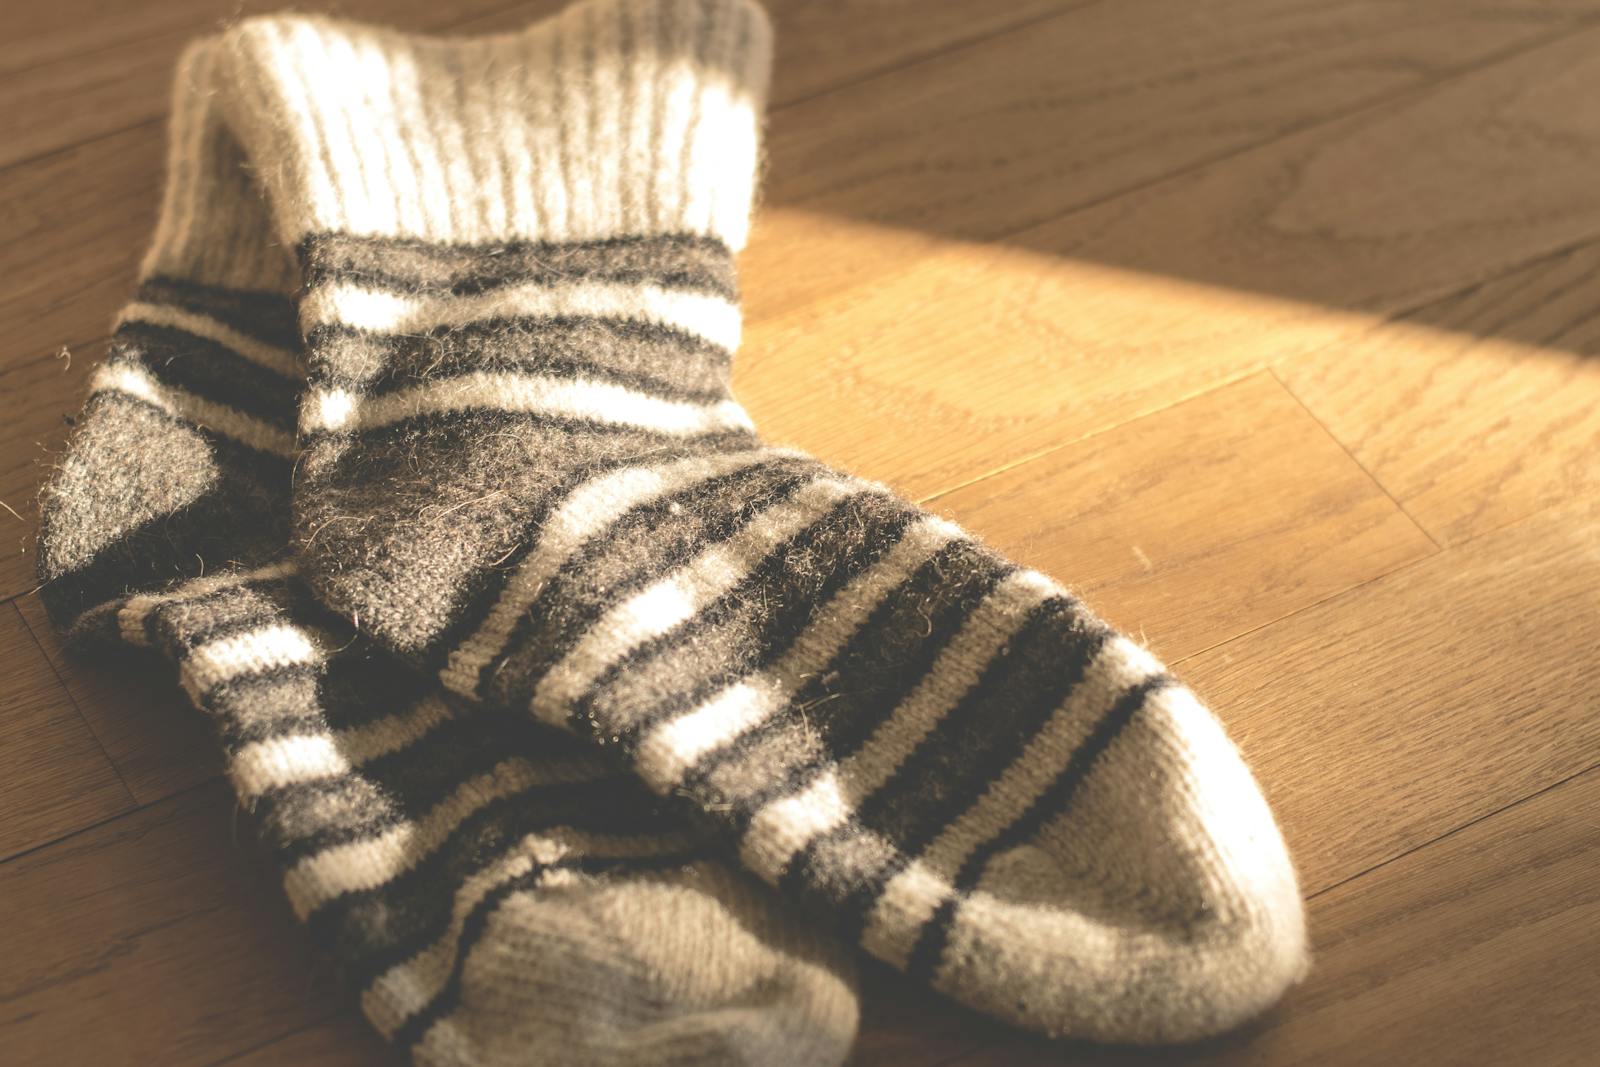
Stripes are a fun way to play with color, especially when knitting socks. A bit more work adds a lot of “oomph” to the finished object. However, any time you change yarns in the middle of a project, there is potential for problem. Even when knitting a small accessory, you must take care to avoid holes and keep the knitting flat. Here are some tips to keep in mind.
A sock is generally worn between the foot and a shoe. This means that any bumps in the fabric are pushed into the wearer’s skin, potentially causing irritation. When using two or more different balls, a decision looms: will you carry the unused yarn up or cut it, weaving in the ends at the beginning of each new stripe? This is one reason why multi-colored and self-striping sock yarns have become so popular: one gets the look of stripes without having to change yarns. However, you don’t have to avoid personally created stripes altogether. You just need to pick a method and deal with the potential problems.
Carrying the yarn may seem like the easy choice, as this precludes all the ends that then need weaving. In my experience, this works best with two colors and smaller stripes, where the yarns are alternated so often that there isn’t enough loose yarn to cause problems. Beware, however, if you are using three or more colors. The “seam” gets bigger with each strand; this means more potential for rubbing when the sock is worn. Another issue when carrying yarn: you must take particular care that the unused yarn doesn’t pull, rucking the fabric at that area. If you decide to carry, the unused yarns must be held loosely but with even tension throughout the entire sock.
Cutting the yarn at the end of each stripe avoids these problems, as the yarn is changed at the end of each stripe. However, there will be many, many ends to weave in when the socks are finished. The secret here is to begin the process while knitting the sock; when changing colors, wrap the old yarn around the new for a few stitches. Be sure to leave enough yarn at the ends to finish weaving in when the sock is completed. The friction that naturally occurs when socks are worn will quickly felt the weaves into the rest of the fabric; as long as they are not too bumpy, all will even out. Experience certainly helps here, but in general try to stagger the placement of the extra ends so that they are by themselves. Also, make sure that there aren’t holes left at the change spots by sewing in the ends in the opposite direction!
Wider stripes are easier if you use the cut-and-weave method, for obvious reasons: there simply aren’t as many ends when you are finished. If you combine a wide stripe with a narrow one, you can also consider combining the two methods: perhaps you will carry the main color but cut after each narrow stripe. You’ll still need to balance the tension, but you will reduce the number of ends.
Always, always finish a sock completely before starting the second one to reduce the amount of time spent weaving in a single sitting. You might also consider weaving in the leg area once the heel is completed, so that each sock’s loose ends are taken care of in two separate sittings.
Whichever method you choose, you’ll have a beautiful sock at the end, and one that’s wearable and warm. The recipient, whether you or a loved one, will surely enjoy the labor of your hands!
You Should Also Read:
Tips for Stripes
Classic Kicks for Little Feet Review

Related Articles
Editor's Picks Articles
Top Ten Articles
Previous Features
Site Map
Content copyright © 2023 by Korie Beth Brown, Ph.D.. All rights reserved.
This content was written by Korie Beth Brown, Ph.D.. If you wish to use this content in any manner, you need written permission. Contact Korie Beth Brown, Ph.D. for details.